ในปัจจุบันขาเดฟคงน่าจะเคยได้ยินเครื่องมือที่ใช้ตรวจประสิทธิภาพของเว็บอยู่บ้าง เช่น
React DevtoolWhy Did You Render<Profiler />Million Lint
ซึ่งเครื่องมือแต่ละชิ้นก็จะมีหน้าที่คล้ายๆกัน ส่วนใหญ่จะมุ่งไปที่ Performance เป็นหลัก วันนี้เรามีอีกเครื่องมือมาแนะนำให้รู้จักกันอีกชิ้น นั่นก็คือ React Scan
Table of contents
Open Table of contents
Intro
วันนี้เราได้ไปเจอเครื่องมือใหม่ มีชื่อว่า React Scan มา ถือว่าเป็นอีกเครื่องมือไว้ใช้สแกนหน้าเว็บของเราว่ามีการ render ไปยังไงบ้าง เช่น Component Input render 200 ครั้ง 0.5ms หรือบ้างครั้งเราอาจจะเห็นว่ากดคลิกเดียว ทำไมถึง render ใหม่ทั้งหน้าทั้งที่ไม่มีความจำเป็นเลยซึ่งเครื่องมือนี้จะทำให้เราสามารถเห็นสิ่งเหล่านี้ในขณะที่เขียนโปรแกรมอยู่ได้เลย เราจึงสามารถวางแผนและจัดการได้ทันที
Installation & Setup
npm install react-scan
เมื่อลง package เสร็จแล้วให้ทำการแก้ไขไฟล์ main.tsx
// main.tsx
import { scan } from "react-scan"; // เพิ่มอันนี้
import { StrictMode } from "react";
import { createRoot } from "react-dom/client";
import "./index.css";
import App from "./App.tsx";

// เพิ่มตรงนี้ด้วย
if (typeof window !== "undefined") {
  scan({
    enabled: true,
    log: true, // logs render info to console (default: false)
  });
}
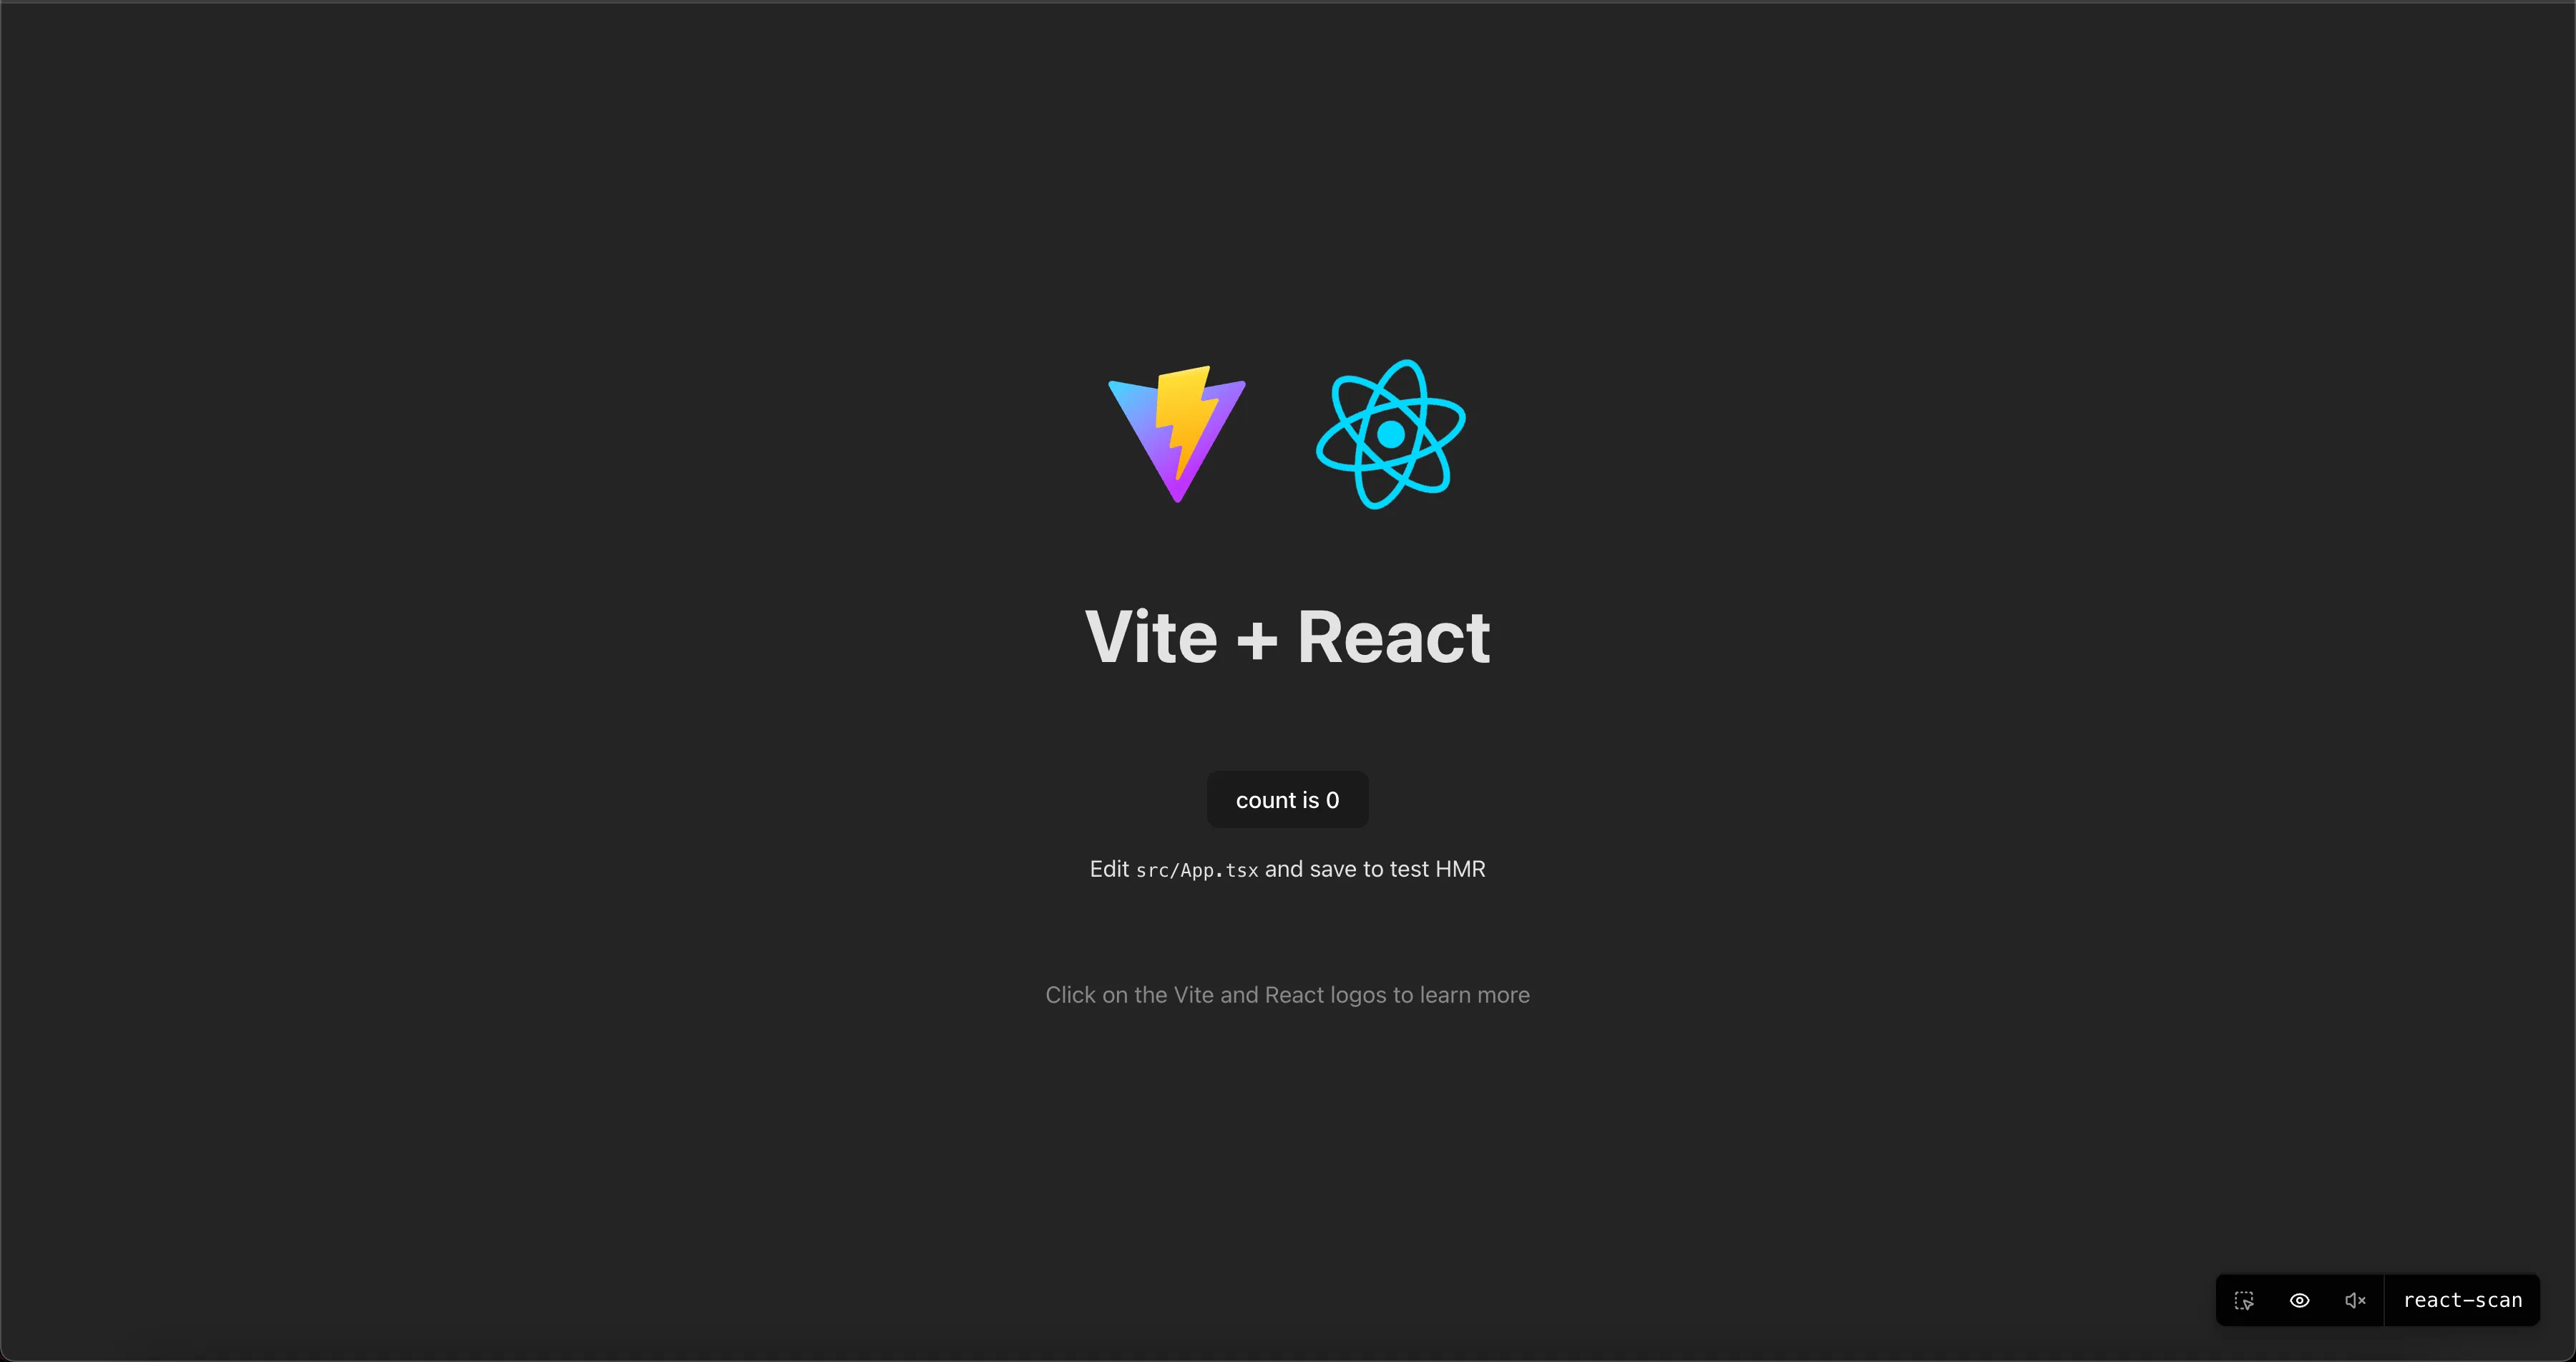
หลังจากนั้นพอเราลองรันเดฟเซิฟเวอร์ก็จะพบหน้าตาแบบนี้

Scanning the site
ต่อมาเราจะมาลองใช้สแกนเว็บไซต์ของเราจากตัวอย่างโดยที่ลองเพิ่ม Input ไป 1 ชิ้นและเพิ่ม Component อีกอันไว้สำหรับแสดง Content
// Content.tsx
import React from "react";

export default function Content() {
  return <div>Here is content to check scan by react scan</div>;
}
// App.tsx
import { useState } from "react";
import reactLogo from "./assets/react.svg";
import viteLogo from "/vite.svg";
import "./App.css";
import Content from "./Content";

function App() {
  const [count, setCount] = useState(0);
  const [input, setInput] = useState("");

  return (
    <>
      <div>
        <a href="https://vite.dev" target="_blank">
          <img src={viteLogo} className="logo" alt="Vite logo" />
        </a>
        <a href="https://react.dev" target="_blank">
          <img src={reactLogo} className="logo react" alt="React logo" />
        </a>
      </div>
      <h1>Vite + React</h1>
      <div className="card">
        <div style={{ marginBottom: "10px" }}>
          <input
            style={{ marginRight: "10px", minHeight: "34px" }}
            value={input}
            onChange={e => setInput(e.target.value)}
          />
        </div>
        <button onClick={() => setCount(count => count + 1)}>
          count is {count}
        </button>
        <p>
          Edit <code>src/App.tsx</code> and save to test HMR
        </p>
      </div>
      <p className="read-the-docs">
        Click on the Vite and React logos to learn more
      </p>
      <Content />
      <Content />
      <Content />
      <Content />
    </>
  );
}

export default App;
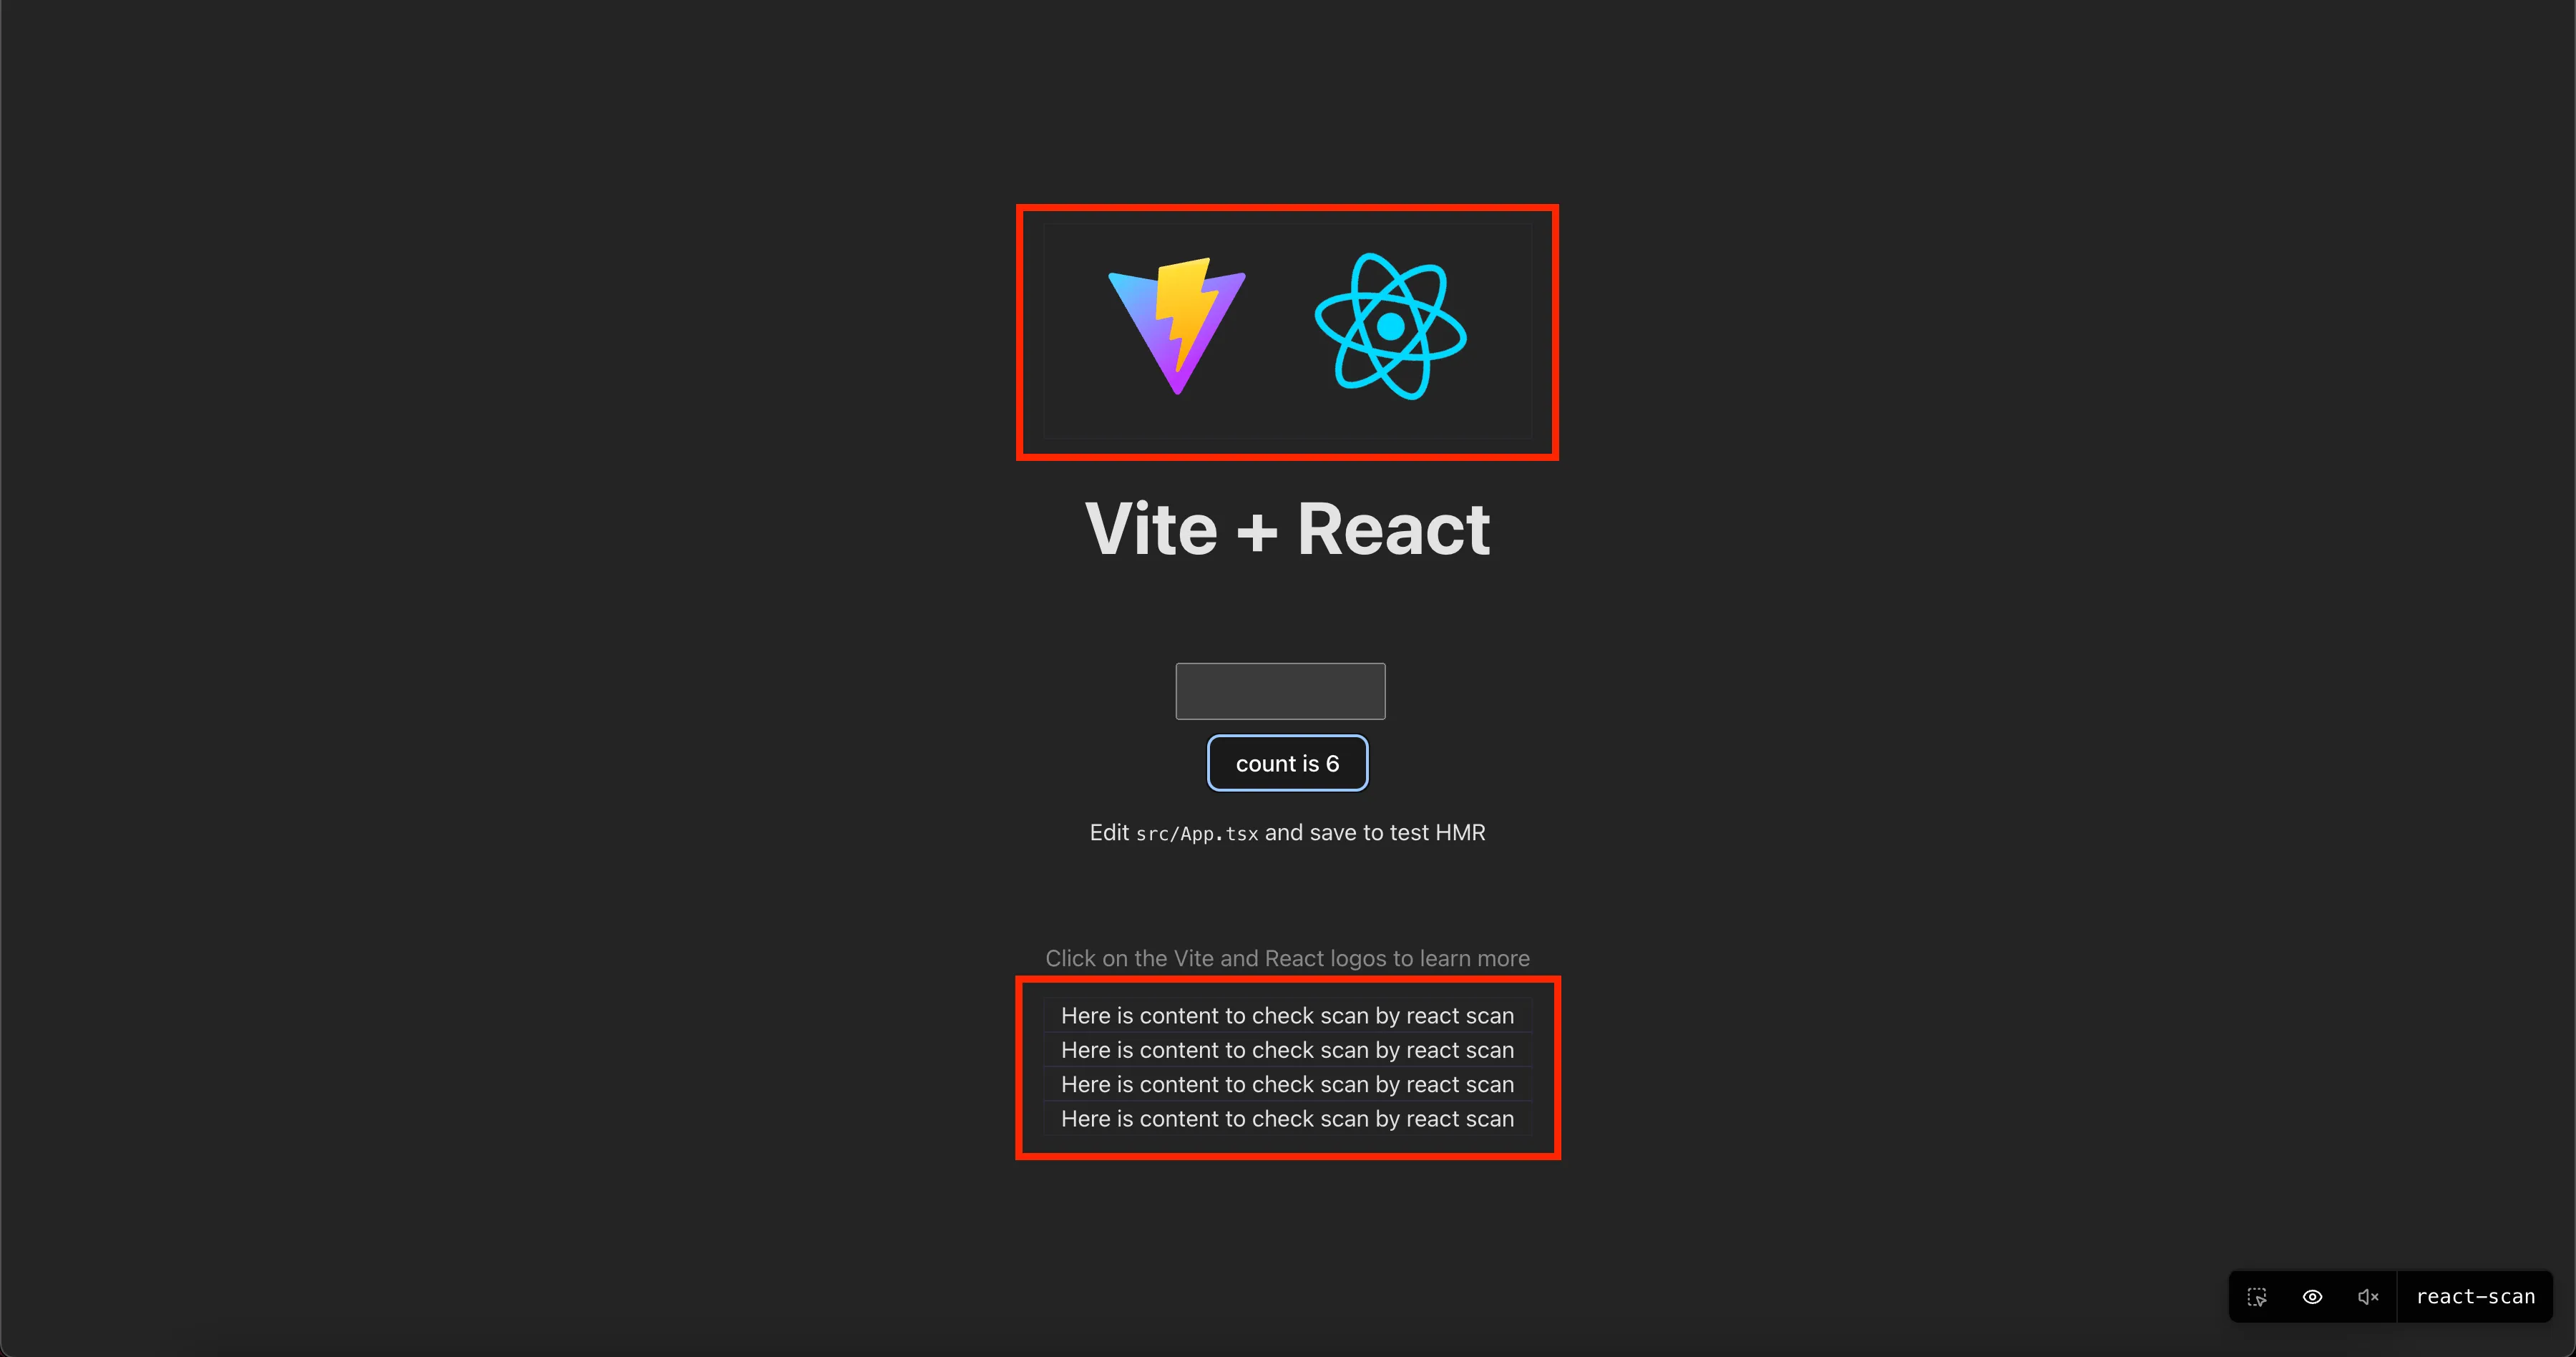
คราวนี้เรามาลองพิมพ์ค่าลง Input หรือคลิกที่ปุ่ม Counter จะเห็นได้ว่า Content component ถูก Rerender ทั้งหมดซึ่งในความเป็นจริงถ้าไม่ได้เกี่ยวข้องกันโดยตรงก็ไม่ควรจะต้อง rerender ด้วยซ้ำ

Simple Optimize
จากโค้ดข้างบนเราลองทำการแยก Component ที่ต้องใช้ State ออกมา
// Counter.tsx
import React, { useState } from "react";

export default function Counter() {
  const [count, setCount] = useState(0);

  return (
    <button onClick={() => setCount(count => count + 1)}>
      count is {count}
    </button>
  );
}
// Input.tsx
import React, { useState } from "react";

export default function Input() {
  const [input, setInput] = useState("");

  return (
    <div style={{ marginBottom: "10px" }}>
      <input
        style={{ marginRight: "10px", minHeight: "34px" }}
        value={input}
        onChange={e => setInput(e.target.value)}
      />
    </div>
  );
}
// App.tsx
import { useState } from "react";
import reactLogo from "./assets/react.svg";
import viteLogo from "/vite.svg";
import "./App.css";
import Content from "./Content";
import Counter from "./Counter";
import Input from "./Input";

function App() {
  // const [count, setCount] = useState(0);
  // const [input, setInput] = useState("");

  return (
    <>
      <div>
        <a href="https://vite.dev" target="_blank">
          <img src={viteLogo} className="logo" alt="Vite logo" />
        </a>
        <a href="https://react.dev" target="_blank">
          <img src={reactLogo} className="logo react" alt="React logo" />
        </a>
      </div>
      <h1>Vite + React</h1>
      <div className="card">
        <Input />
        <Counter />
        <p>
          Edit <code>src/App.tsx</code> and save to test HMR
        </p>
      </div>
      <p className="read-the-docs">
        Click on the Vite and React logos to learn more
      </p>
      <Content />
      <Content />
      <Content />
      <Content />
    </>
  );
}

export default App;
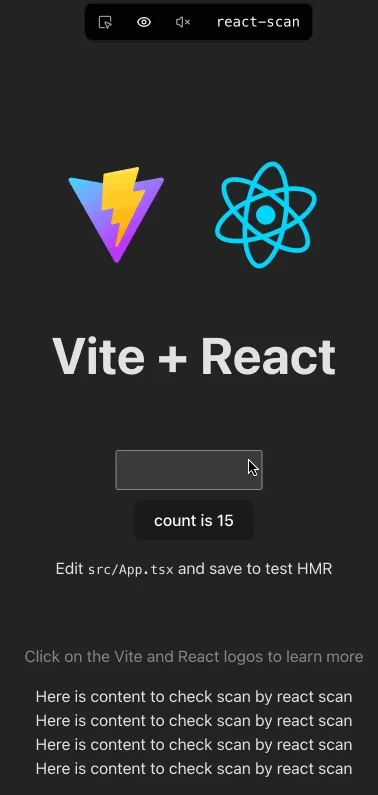
ต่อมาเราลองไปพิมพ์ค่าใน input หรือกดปุ่มจาก counter จะเห็นได้เลยว่า component อื่นๆไม่ได้ถูก render ใหม่ที่เป็นแบบนี้เพราะว่าตัว state ไม่ได้อยู่ใน App.tsx แล้วแต่ไปอยู่ใน component ต่างๆแทน

Chrome Extension (Develop mode)
ตอนนี้มีให้ทาง React scan ได้ทำตัว Chrome Extension แบบ Developer mode กันอยู่เมื่อสมบูรณ์ถึงจะปล่อยเป็นตัวตาม ส่วนวิธีการเปิดใช้งานดูเพิ่มเติม ที่นี่
Scanning any site
นอกจากสแกนในเว็บเราได้แล้วยังสามารถสแกนเว็บอื่นๆได้อีกด้วย เช่น Github
npx react-scan@latest https://github.com
# you can technically scan ANY website on the web:
# npx react-scan@latest https://react.dev
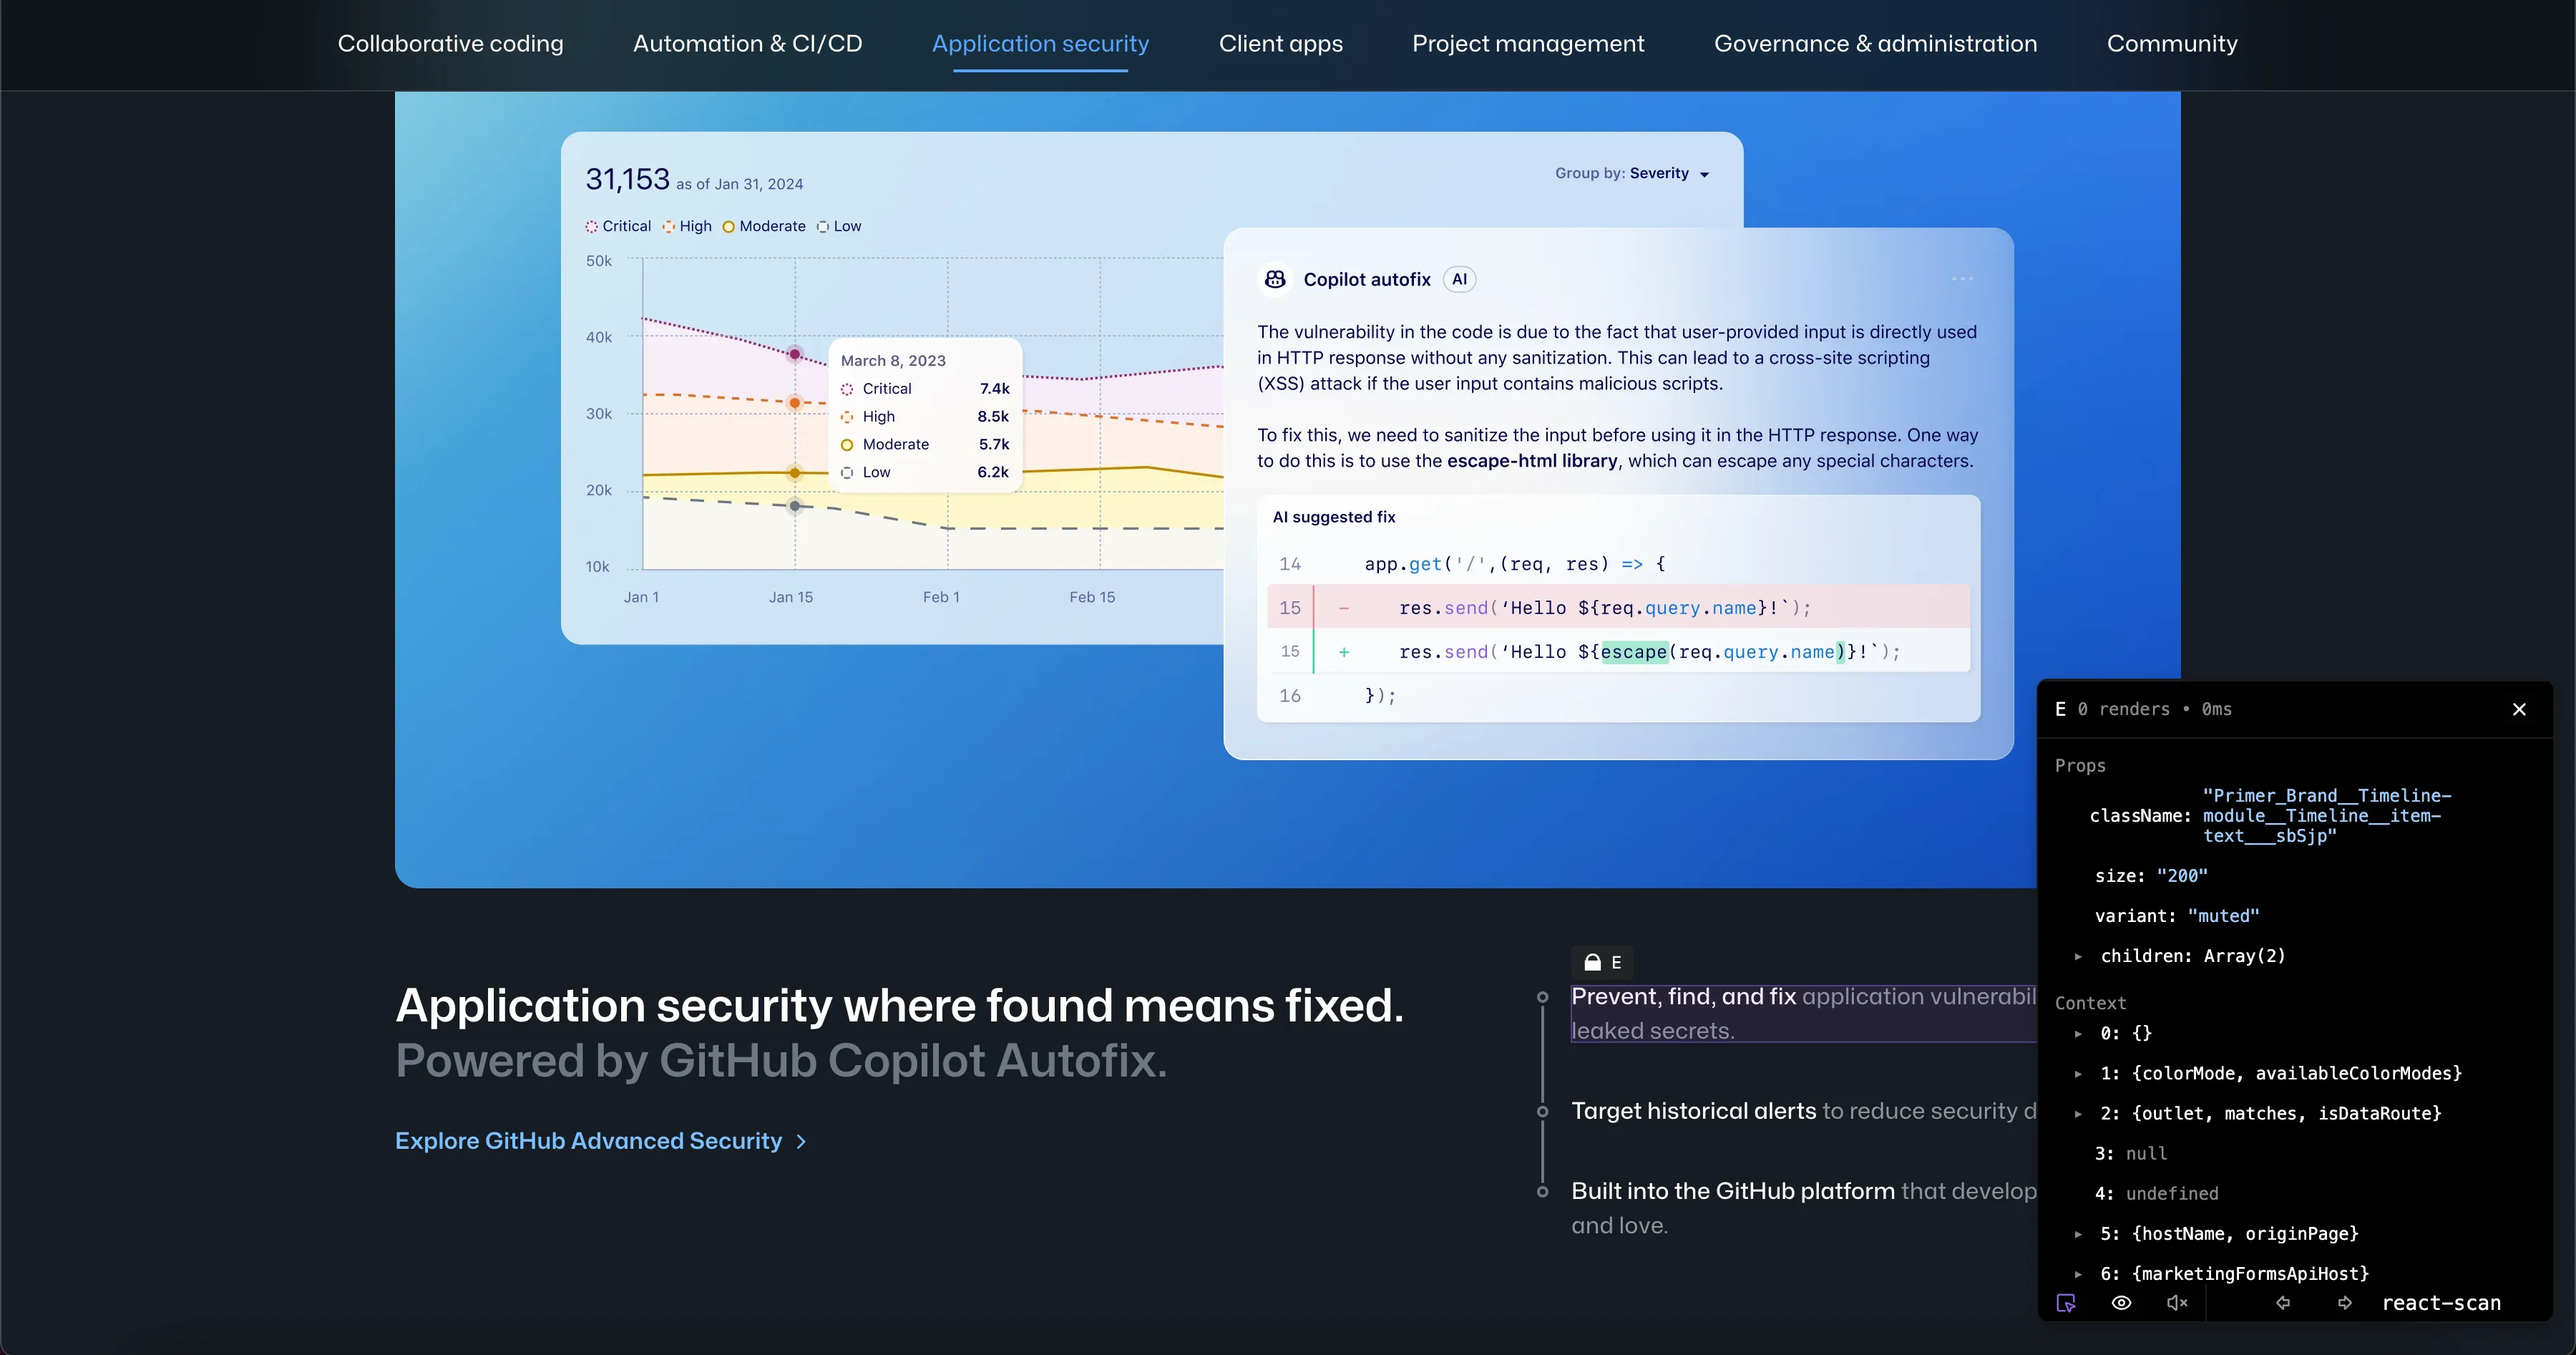
ผลลัพธ์ที่ได้คือ

นอกจากนี้เรายังสามารถ Inspect Github จาก Element/Componet ได้อีกด้วย

Conclusion from writer
หลังจากที่ได้ลองใช้มา 1 อาทิตย์ก็รู้สึกว่าดีมากในแง่ของการได้เห็นการ render และกดดูตามแต่ละ component ส่วนตัวคิดว่าน่าจะใช้งานต่อไป แถมทางผู้พัฒนาก็อยากจะทำไปต่อในส่วนของ React Native กับ Chrome Extension อีกด้วย