หลายคนอาจรู้จัก Abort Controller ในบริบทของการยกเลิกการเรียกข้อมูลจากเซิร์ฟเวอร์ (Data Fetching) แต่ความจริงแล้ว Abort Controller มีความสามารถมากกว่านั้น สามารถใช้ได้กับงานอื่นๆ รวมถึงการทำงานกับ Web Worker ด้วย MDN
Table of contents
Open Table of contents
Intro
Abort Controller เป็นเครื่องมือที่ช่วยให้เราจัดการการยกเลิกการทำงานแบบ asynchronous ได้อย่างมีประสิทธิภาพ ไม่ว่าจะเป็นการเรียกข้อมูล การทำงานที่ใช้เวลานาน หรือแม้แต่ Event Listener
Asynchronous Task
ลองมาดูตัวอย่างการใช้ Abort Controller กับงาน asynchronous กัน
// wait.ts
type TOptions = {
  signal?: AbortSignal;
};

async function wait(ms: number, options: TOptions) {
  return new Promise((resolve, reject) => {
    let timerId = setTimeout(resolve, ms);
    if (options.signal) {
      options.signal.addEventListener("abort", event => {
        clearTimeout(timerId);
        reject(event);
      });
    }
  });
}

export default wait;
ต่อมาเราจะใช้ React component เรียกฟังก์ชั่น abort กัน
// App.tsx
import { useRef, useState } from "react";
import wait from "./wait";
type TMySTate = "PENDING" | "FULFILLED" | "REJECTED" | "IDLE";
const delay = 5000;
export default function App() {
const [current, setCurrent] = useState<TMySTate>("IDLE");
const abortRef = useRef<AbortController>();
const isPending = current === "PENDING";
const handleClick = async () => {
if (abortRef.current) {
abortRef.current.abort();
return;
}
abortRef.current = new AbortController();
try {
setCurrent("PENDING");
await wait(delay, { signal: abortRef.current.signal });
setCurrent("FULFILLED");
} catch (error) {
console.error(error);
} finally {
setCurrent("IDLE");
abortRef.current = undefined;
}
};
return (
<div className="App">
<div style={{ marginBlock: 8 }}>
<div style={{ marginBottom: 8 }}>
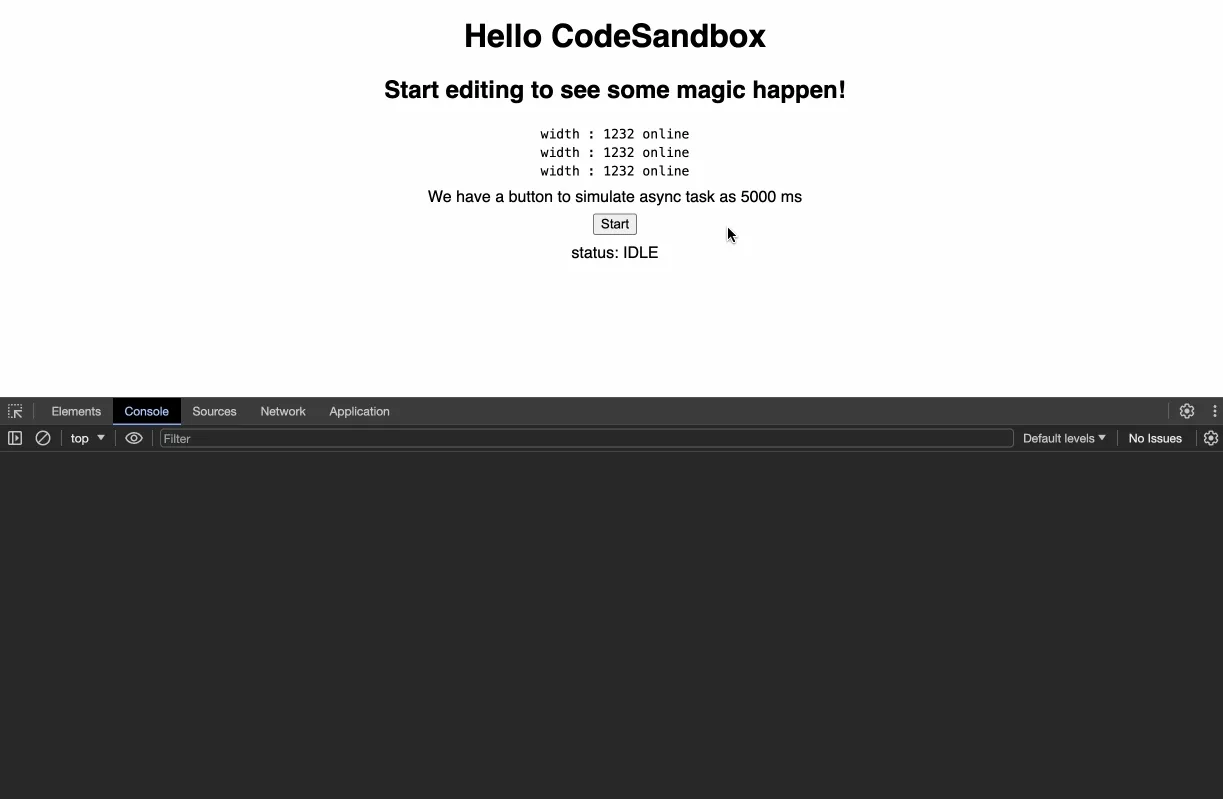
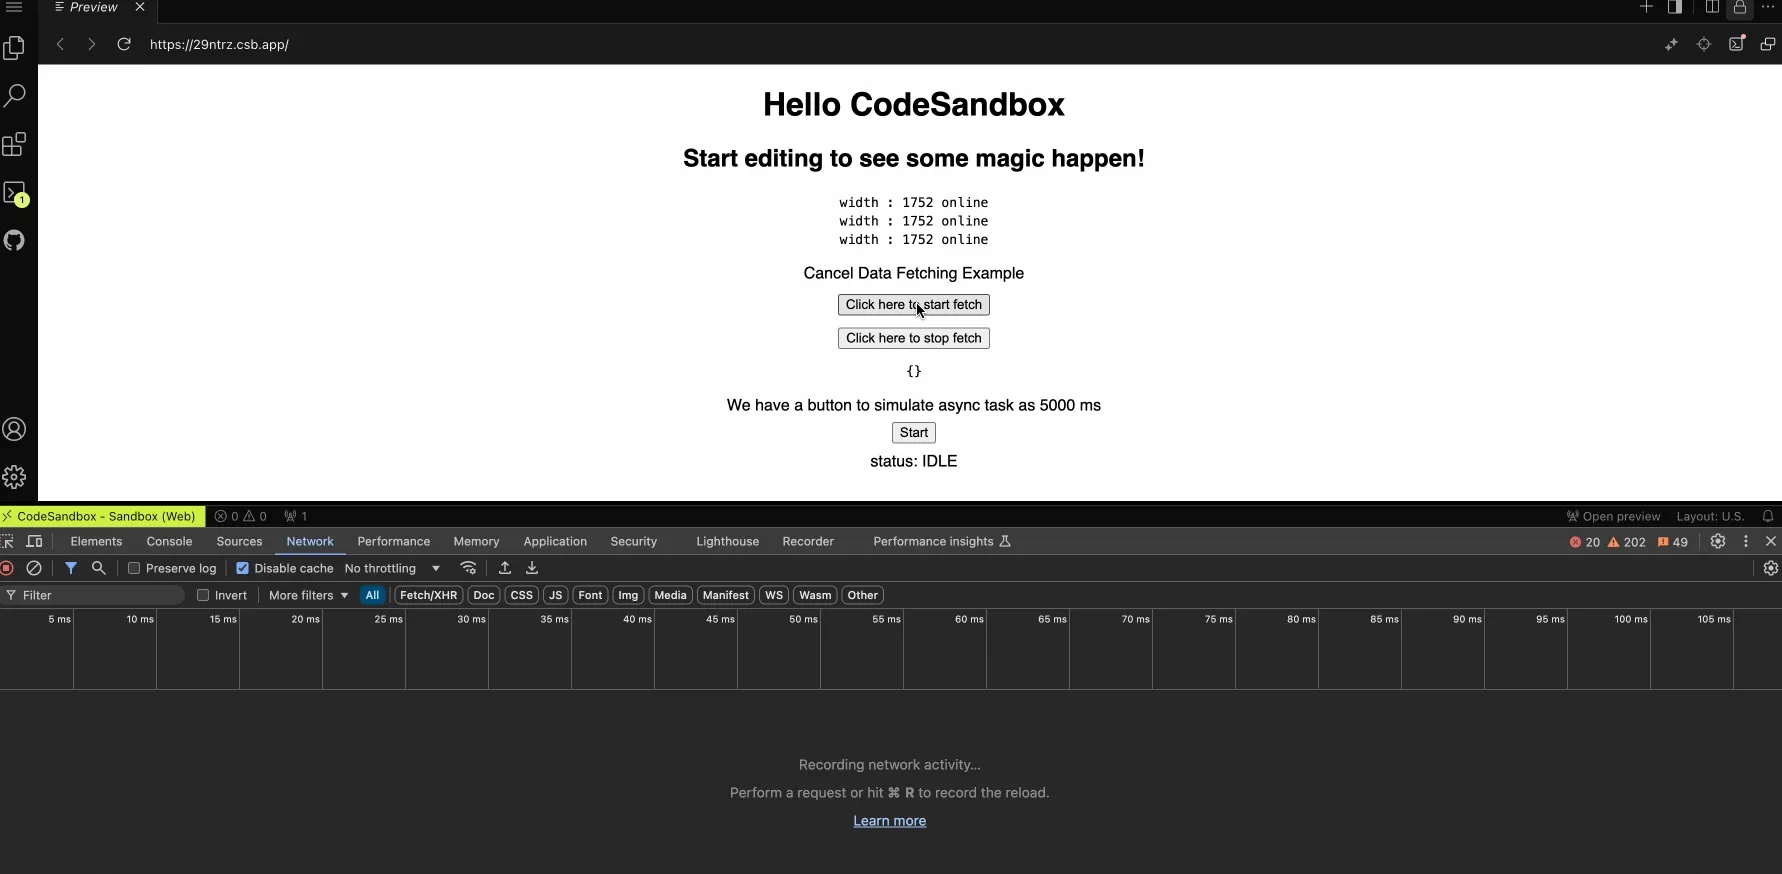
We have a button to simulate async task as 5000 ms
</div>
<button type="button" onClick={handleClick}>
{isPending ? "Stop" : "Start"}
</button>
<div style={{ marginTop: 8 }}>status: {current}</div>
</div>
</div>
);
}
Code ตัวอย่างแสดงการทำงานของ Asynchronous Task
- การกดปุ่มเริ่มต้น Asynchronous Task
- ฟังก์ชัน wait รับพารามิเตอร์ signal สำหรับการยกเลิก
- หากกดปุ่มซ้ำขณะ Task กำลังทำงาน Task จะถูกยกเลิกและโปรแกรมจะเข้าสู่ส่วน Catch ทันที
- เมื่อโปรแกรมทำงานเสร็จ จะกลับสู่สถานะ IDLE
Fetching Data
ขั้นตอนต่อไป เรามาดูรู้วิธีการยกเลิกการดึงข้อมูล (Cancel data fetching) โดยใช้ fetch API ร่วมกับ AbortController ใน React
import { useState, useRef } from "react";

const URL = "https://fakeresponder.com?sleep=5000";

type TResponse = {
  about: string;
};

const ExampleFetch = () => {
  const [isFetching, setIsFetching] = useState<boolean>(false);
  const [posts, setPosts] = useState<TResponse>({} as TResponse);
  const abortRef = useRef<AbortController>();

  const handleClick = async () => {
    abortRef.current = new AbortController();
    try {
      setIsFetching(true);
      const response = await fetch(URL, { signal: abortRef.current.signal });
      const data = (await response.json()) as TResponse;
      setPosts(data);
    } catch (error) {
      setPosts({} as TResponse);
    } finally {
      abortRef.current = undefined;
      setIsFetching(false);
    }
  };

  const handleStopClick = () => {
    if (abortRef.current !== undefined) {
      abortRef.current.abort();
    }
    return;
  };

  return (
    <div style={{ marginBlock: 16 }}>
      <div style={{ marginBottom: 12 }}>Cancel Data Fetching Example</div>
      <div style={{ marginBottom: 12 }}>
        <button type="button" onClick={handleClick} disabled={isFetching}>
          Click here to start fetch
        </button>
      </div>
      <div style={{ marginBottom: 12 }}>
        <button type="button" onClick={handleStopClick}>
          Click here to stop fetch
        </button>
      </div>
      <code>{JSON.stringify(posts)}</code>
    </div>
  );
};

export default ExampleFetch;
addEventListener()
Abort Controller ยังสามารถใช้กับ Event Listener ได้อีกด้วย โดยปกติ addEventListener() มี 3 รูปแบบ:
addEventListener(type, listener); // 1. arrow EventElement.type =  listener
addEventListener(type, listener, options); // 2. <-- options*
addEventListener(type, listener, useCapture); // 3. with Capture

// example 1.1
const handleResize = () => console.log(window.innerWidth);
window.addEventListener("resize", handleResize);

// example 1.2
const handleResize = () => console.log(window.innerWidth);
window.onresize = handleResize;
ต่อมาถ้าเราจะทำ Abort controller เข้าไป เราแค่เพิ่มตรง options ของแบบที่ 2 ไป
const controller = new AbortController();
const handleResize = () => console.log(window.innerWidth);
window.addEventListener("resize", handleResize, {
  signal: controller.signal,
});

// เรียก abort ฟังก์ชั่นเพื่อ remove listener
controller.abort();
พอมาถึงตรงนี้หลายคนอาจจะสงสัยว่าแล้ว Abort Controller มาช่วยเราได้มากขึ้นยังไง ดังนั้นเรามาลองดูตัวอย่างข้างล่างกัน
Multiple EventListener
Abort Controller ยังช่วยจัดการ Event Listener หลายตัวได้อย่างมีประสิทธิภาพ
// example 3
import { useEffect, useState } from "react";

const ExampleThree = () => {
  const [width, setWidth] = useState(window.innerWidth);
  const [isOnline, setIsOnline] = useState(
    typeof navigator !== "undefined" && typeof navigator.onLine === "boolean"
      ? navigator.onLine
      : true
  );

  useEffect(() => {
    const controller = new AbortController(); // Abort Controller
    const handleResize = () => setWidth(window.innerWidth);
    const handleOnline = () => setIsOnline(true);
    const handleOffline = () => setIsOnline(false);

    window.addEventListener("resize", handleResize, {
      signal: controller.signal, // <-- signal
    });
    window.addEventListener("online", handleOnline, {
      signal: controller.signal, // <-- signal
    });
    window.addEventListener("offline", handleOffline, {
      signal: controller.signal, // <-- signal
    });

    return () => {
      controller.abort(); // <-- cancel/remove listener
    };
  }, []);

  return (
    <div>
      <code> width : {width} </code>
      <code> {isOnline ? "online" : "offline"}</code>
    </div>
  );
};

export default ExampleThree;
การใช้ Abort Controller ในลักษณะนี้ช่วยให้เราจัดการ Event Listener หลายตัวได้อย่างสะดวกและมีประสิทธิภาพ โดยเฉพาะในการพัฒนา React Components สำหรับโค้ดตัวอย่างทั้งหมด Example Code
Conclusion from writer
Abort Controller เป็นเครื่องมือที่มีประโยชน์อย่างมากในการพัฒนา React applications โดยเฉพาะอย่างยิ่งสำหรับการจัดการงานแบบ asynchronous และ event listeners เครื่องมือนี้ช่วยให้นักพัฒนาสามารถควบคุมและยกเลิกการทำงานของ operations ต่างๆ ได้อย่างมีประสิทธิภาพ ไม่ว่าจะเป็นการเรียก API, การโหลดข้อมูล หรือการทำงานที่ใช้เวลานาน ทำให้สามารถปรับปรุงประสิทธิภาพของแอปพลิเคชันและป้องกันการทำงานที่ไม่จำเป็นได้อย่างมีประสิทธิผล